


Installing PVC bathroom ceiling panels is a great way to give your bathroom a fresh, modern look. PVC panels are easy to clean, durable, and moisture-resistant, making them the perfect choice for a bathroom. Here are the steps to install PVC bathroom ceiling panels:
1. Measure the ceiling - Measure the length and width of your bathroom ceiling to determine how many panels you will need. Make sure to leave a little extra space for cuts and adjustments.
2. Prepare the panels - If your PVC panels are not pre-cut to the size of your ceiling, you will need to cut them to fit. Use a saw or a pair of sharp scissors to make the necessary cuts. Make sure to wear gloves and eye protection while cutting.
3. Install furring strips - Furring strips are thin pieces of wood that are attached to the ceiling to create a surface for the PVC panels to attach to. Use a stud finder to locate the ceiling joists, and then attach the furring strips to the joists with screws.
4. Install the panels - Begin by placing the first panel in one corner of the ceiling, making sure it is level with the furring strips. Use screws to attach the panel to the furring strips, making sure to hit the joists. Continue until all of the panels are installed.
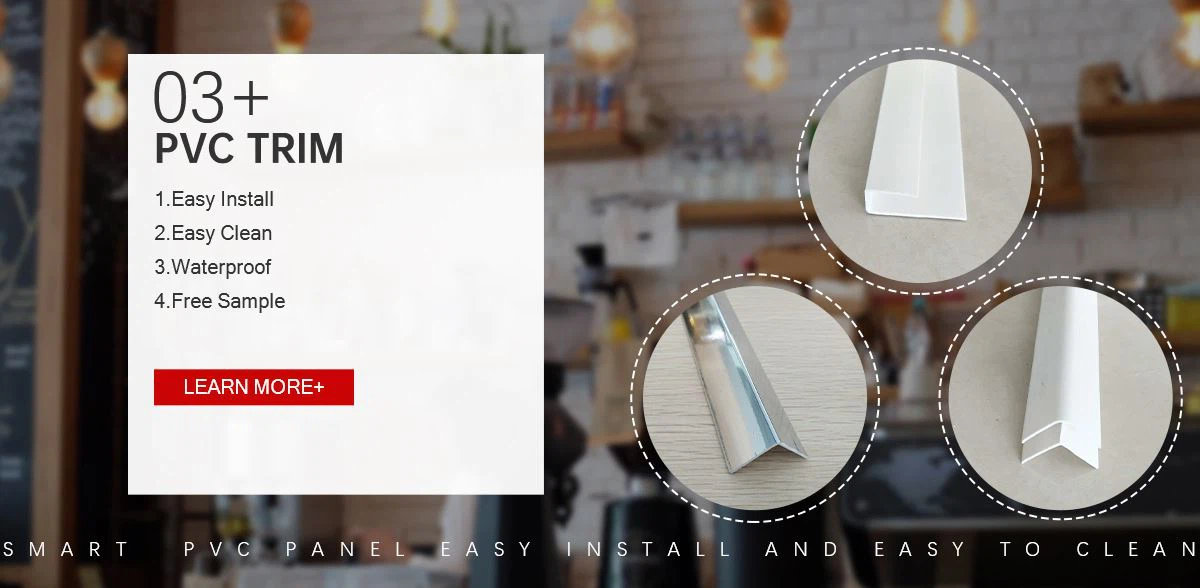
5. Finish the edges - Use PVC trim to cover the edges of the panels where they meet the walls. Use a silicone caulk to fill any gaps between the panels and the trim.
6. Enjoy your new ceiling - With your new PVC bathroom ceiling panels installed, you can sit back and enjoy your fresh, modern bathroom!
In conclusion, installing PVC bathroom ceiling panels is a fairly easy process that can be done by anyone with a little DIY experience. By following these simple steps, you can give your bathroom a beautiful, functional upgrade that will last for years to come.


